*This post contains affiliate links. If you buy something through one of those links, I will receive a small commission at no extra cost to you. You can read more about this in my Privacy Policy.
Thank you for supporting my site!
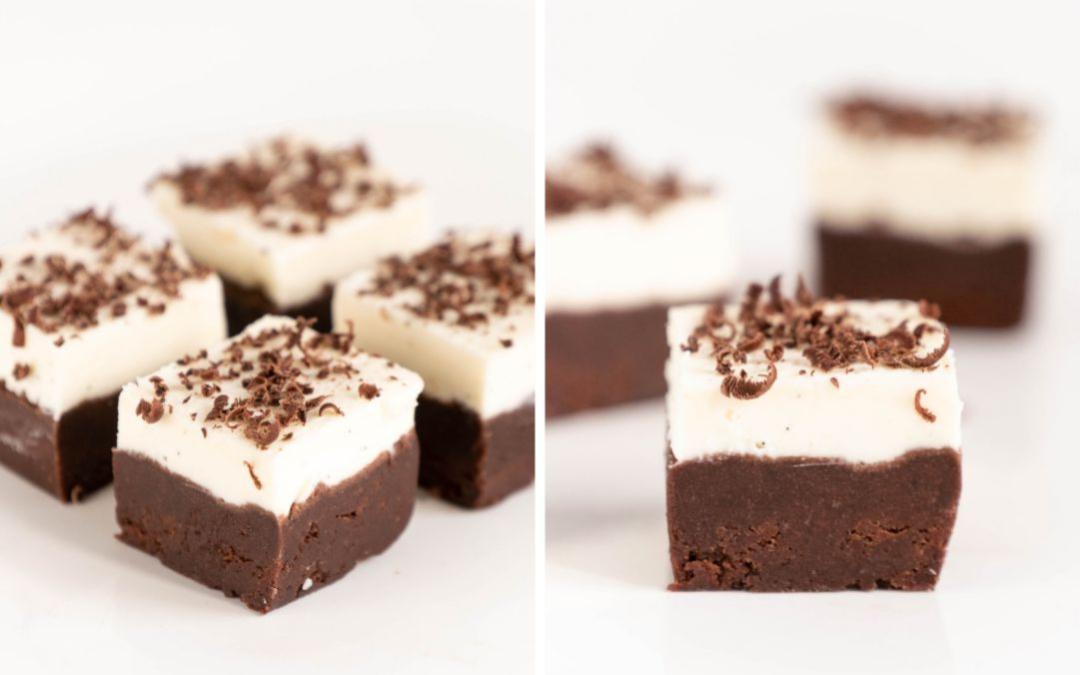
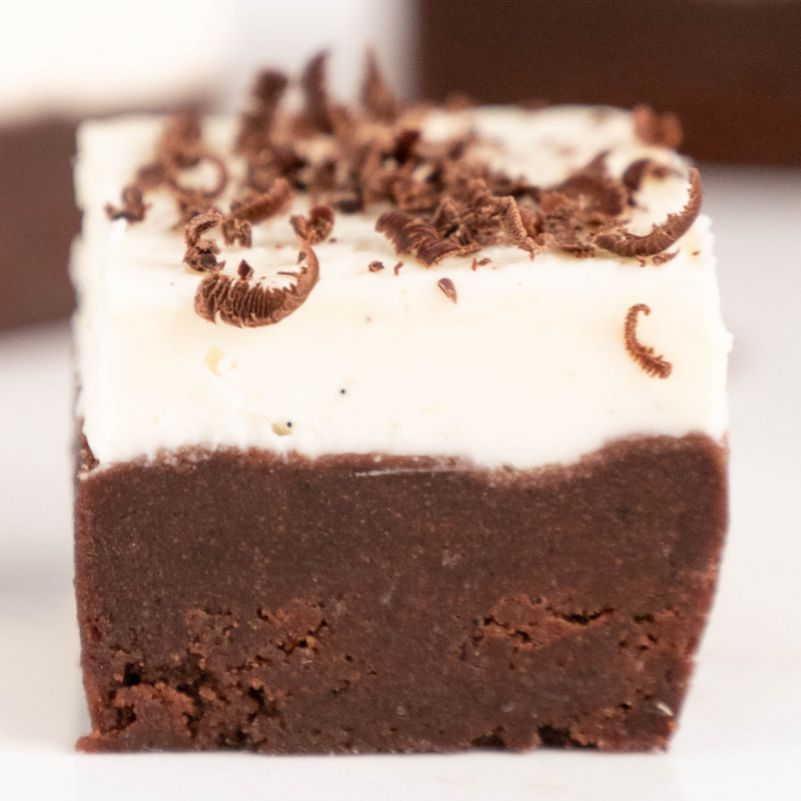
Brownie and cheesecake – is there a combination more wholesome than this?
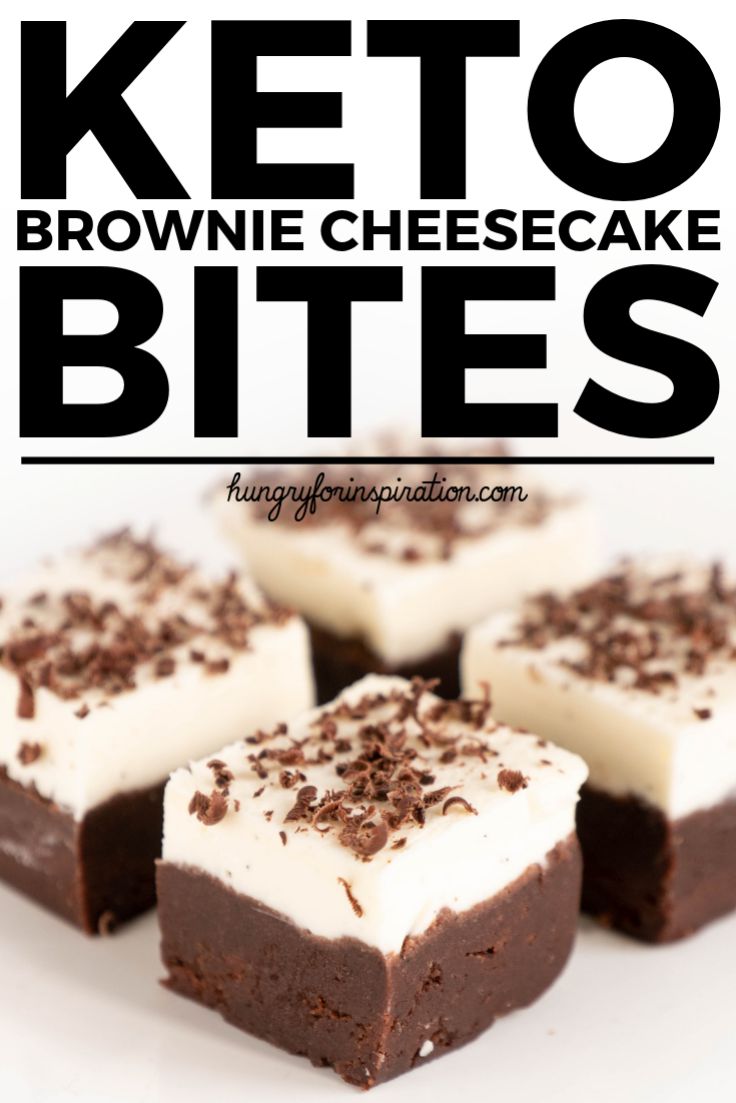
With these no bake keto brownie cheesecake bites, you can have a taste of that sweet goodness without the fuzz.
It’s super easy to make and only requires about 10-15 minutes of active work.
I’m a big fan of easy keto recipes and this one definitely fits the definition.
And with only 0.5g net carbs per bite, they’re more than perfect for the ketogenic diet!
OTHER KETO FAT BOMBS:
Mini No Bake Keto Apple Pie Fat Bombs Pecan Pie Keto Fat Bombs Chocolate-Covered Peanut Butter Keto Fat Bombs Healthy No Bake Pumpkin Pie Keto Fat Bombs Keto Coconut Almond Fat Bombs (Homemade Raffaello Coconut Balls) Healthy Blueberry Keto Fat Bombs
KETO BROWNIE CHEESECAKE BITES INGREDIENTS:
(You can find the exact amounts needed on the recipe card at the end of this post!)
I recommend buying grass-fed butter – it’s higher in certain micronutrients and healthy fats and it contains a better ratio of omega-3 vs. omega-6 fatty acids.
The butter should be soft for this recipe: leave the butter at room temperature for 30-40 minutes for the desired consistency.
Erythritol is my favorite keto-friendly sweetener:
– it doesn’t spike your blood sugar,
– it’s completely safe and
– has a very natural sweet taste.
Because of the natural origin and natural production process (fermentation), I also consider erythritol to be paleo-friendly.
Even though I’m a little biased towards erythritol, I’m not discriminating against other keto-friendly sweeteners that won’t spike your blood sugar.
Keep in mind though, that you might have to adjust the amount used because erythritol isn’t as sweet as other sweeteners out there.
Erythritol is about 70% as sweet as normal table sugar whereas other keto-friendly sweeteners like monk fruit and stevia are usually much sweeter than sugar.
Taste a tiny amount of the mass before oversweetening it and adjust accordingly!
dutch processed cacoa powder has a very strong chocolate taste and because of that it’s ideal for low carb baking.
You only need a very tiny amount to make delicious chocolatey keto treats.
HOW TO MAKE KETO BROWNIE CHEESECAKE BITES:
1. Mix ingredients for the brownie layer:
Mix the ingredients for the brownie layer in a bowl until you get a smooth mass.
To fully combine the softened butter with the rest of the ingredients, I recommend pressing the backside of the spoon against the “wall” of the bowl while you stir.
Imagine using the spoon as if you were to apply the fat bomb mass with a spatula.
Press the brownie layer into a suitable silicone mold, I usually use a rectangular silicone mold for candy making just like this one and cut the finished “bars” into bite-sized cubes.
But of course, you can use whatever shape you already have at home.
(I do highly recommend using a silicone mold and not something that’s hard plastic like an ice cube tray – you probably will have a lot of problems getting the bites out and it will be much easier with a silicone mold.)
Make sure to leave a bit of space on top of the brownie layer (approx. as thick as a finger) so the cheesecake layer will still fit into the silicone mold.
Chill the brownie layer in your freezer for 10-15 minutes while you prepare the cheesecake layer.
2. Make cheesecake layer and fill into silicone mold:
Mix the ingredients for the cheesecake layer and add it on top of the brownie layer.
Chill the silicone mold for 1 hour in your fridge.
3. Serve:
Pop the keto brownie cheesecake bars/bites out of your silicone mold.
This should be fairly easy after they had enough time to solidify in the fridge but you may have to be careful to not touch the cheesecake layer as it will not harden as much as the brownie layer.
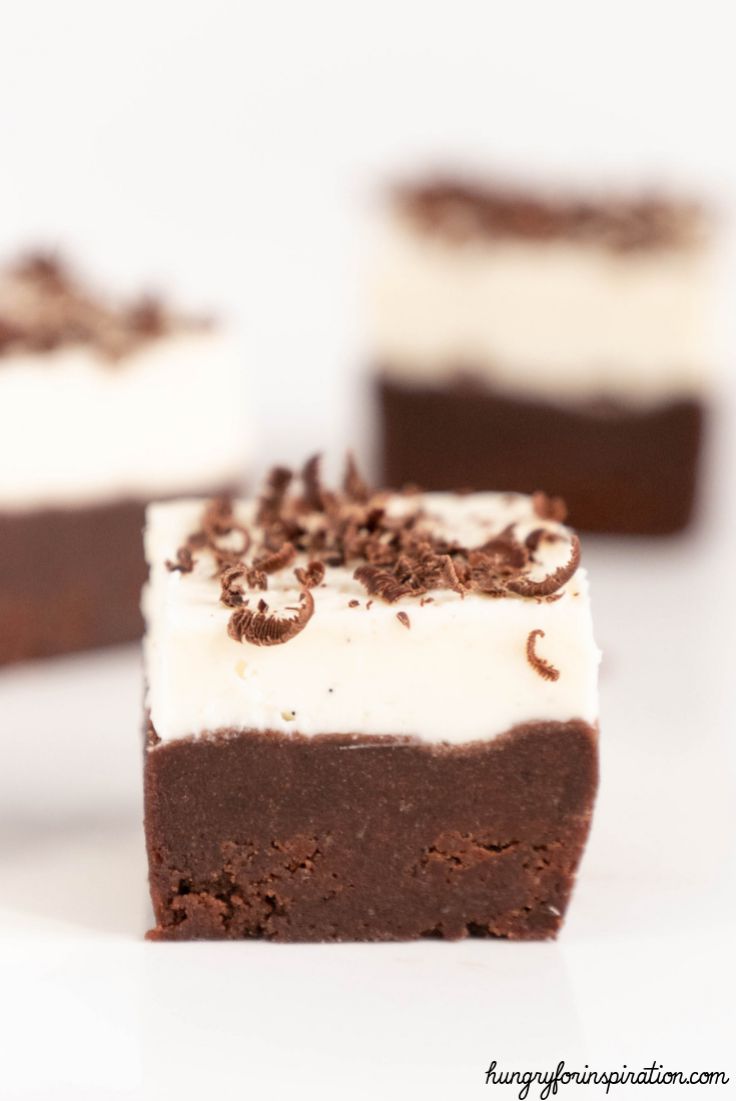
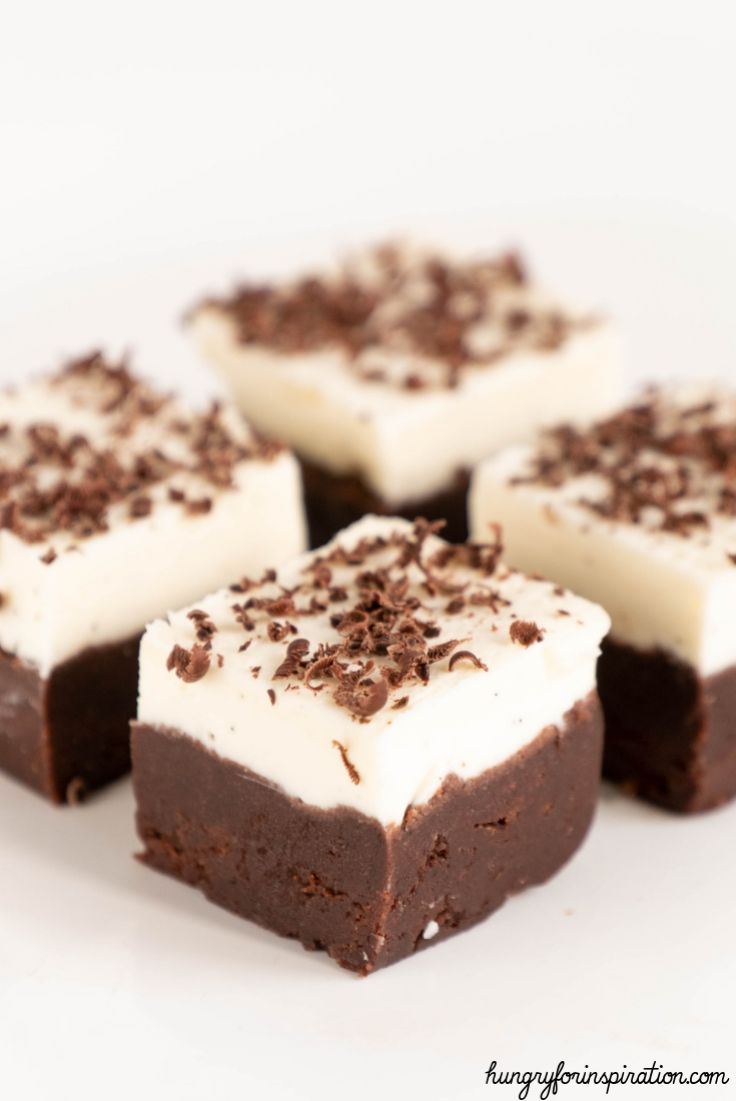
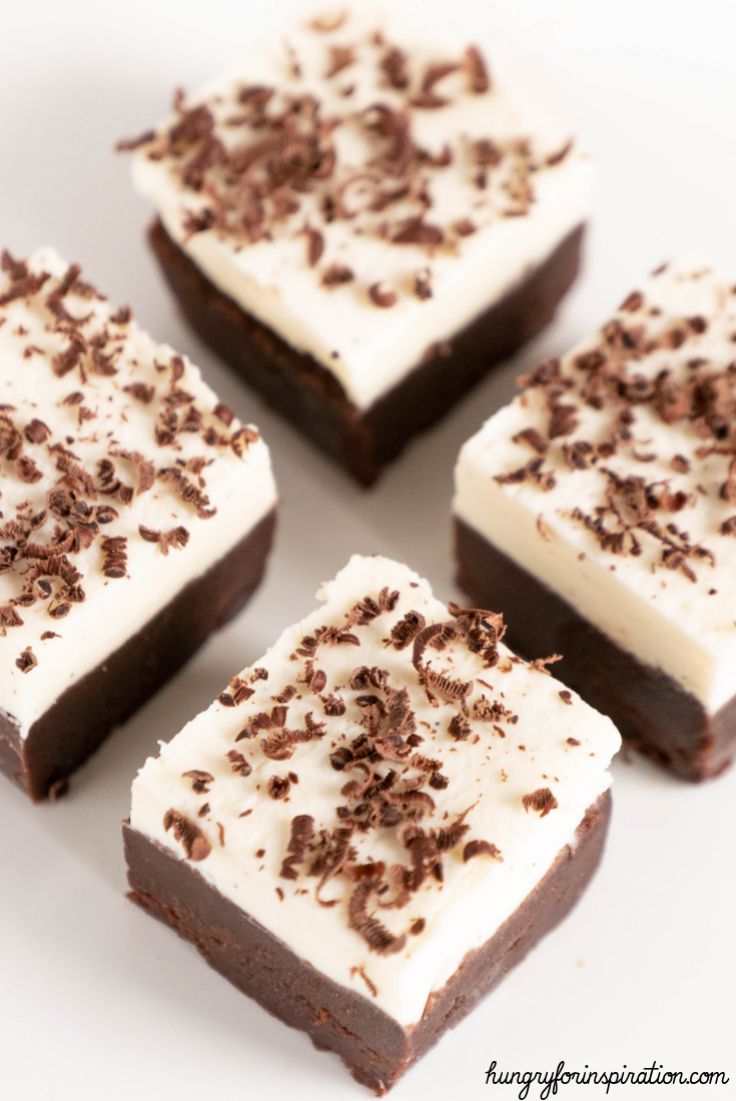
Depending on what silicone mold you’re using, you may need to cut the keto brownie cheesecake bars into bite-sized cubes as seen on the pictures.
If you use a different mold, you can go straight to the eating part!
I decorated my keto brownie cheesecake bites with a bit of grated chocolate, but of course, that’s optional!
Cover with plastic wrap and store in your fridge – consume within 2-3 days.
Nutrition Info:
One keto brownie cheesecake bite (approx. 0.6oz/17g) has approx. 0.5g net carbs (1.1g total carbs and 0.6g dietary fiber), 5.3g fat, 1.8g protein, and 58 calories.
Keep in mind that the nutrition info per serving may change depending on the size of the bites you make.
(I try to be as accurate as possible with this information, but values may vary because of natural occurring fluctuations and different products used.)
Q: How do you include Erythritol in your calculations?
A: The short answer is: I don’t, and I can tell you why.
Erythritol is a sugar alcohol which your body can’t digest.
If you ingest it, it won’t spike your blood sugar & it won’t release insulin (which is a good thing if you want to stay in ketosis).
It passes through our system basically “untouched”.
Because of this, you can subtract the carbs from erythritol completely, which is what I always do.
OTHER DELICIOUS KETO TREATS:
Eager for more delicious keto treats? Check out these posts too:
Tropical Passionfruit Keto Cheesecake In A Jar Healthy No Bake Keto Snickers Bars Healthy No Bake Ferrero Rocher Keto Fat Bombs The Easiest Keto Peanut Butter Cookies Ever Healthy No Bake Keto Coconut Bars (Homemade Mounds Bars/ Bounty Bars)
Ready for a new fat bomb favorite? These No Bake Keto Brownie Cheesecake Bites might be it - super easy & delicious with only 0.5g net carbs per bite!
Mix the ingredients for the brownie layer in a bowl until you get a smooth mass.
☞ To fully combine the softened butter with the rest of the ingredients, I recommend pressing the backside of the spoon against the "wall" of the bowl while you stir.
Imagine using the spoon as if you were to apply the fat bomb mass with a spatula.
Press the brownie layer into a suitable silicone mold, I usually use a rectangular silicone mold for candy making just like this one and cut the finished "bars" into bite-sized cubes.
But of course, you can use whatever shape you already have at home.
Make sure to leave a bit of space on top of the brownie layer (approx. as thick as a finger) so the cheesecake layer will still fit into the silicone mold.
Chill the brownie layer in your freezer for 10-15 minutes while you prepare the cheesecake layer.
Mix the ingredients for the cheesecake layer and add it on top of the brownie layer.
Chill the silicone mold in your fridge for approx. 1 hour.
Pop the keto brownie cheesecake bars/bites out of your silicone mold.
This should be fairly easy after they had enough time to solidify in the fridge but you may have to be careful to not touch the cheesecake layer as it will not harden as much as the brownie layer.
Depending on what silicone mold you're using, you may need to cut the keto brownie cheesecake bars into bite-sized cubes as seen on the pictures.
If you use a different mold, you can go straight to the eating part!
(Optional) Serve with a bit of grated chocolate on top of your bites for decoration.
Cover with plastic wrap and store in your fridge - consume within 2-3 days.
*This post contains affiliate links. If you buy something through one of those links, I will receive a small commission at no extra cost to you.
Thank you for supporting my site!
Serving Size 1 bite (approx. 0.6oz/17g)
Servings 9
- Amount Per Serving
- Calories 58
- % Daily Value *
- Total Fat 5.3g9%
- Total Carbohydrate 1.1g1%
- Dietary Fiber 0.6g3%
- Protein 1.8g4%
* Percent Daily Values are based on a 2,000 calorie diet. Your daily value may be higher or lower depending on your calorie needs.
Ingredients
Directions
Mix the ingredients for the brownie layer in a bowl until you get a smooth mass.
☞ To fully combine the softened butter with the rest of the ingredients, I recommend pressing the backside of the spoon against the "wall" of the bowl while you stir.
Imagine using the spoon as if you were to apply the fat bomb mass with a spatula.
Press the brownie layer into a suitable silicone mold, I usually use a rectangular silicone mold for candy making just like this one and cut the finished "bars" into bite-sized cubes.
But of course, you can use whatever shape you already have at home.
Make sure to leave a bit of space on top of the brownie layer (approx. as thick as a finger) so the cheesecake layer will still fit into the silicone mold.
Chill the brownie layer in your freezer for 10-15 minutes while you prepare the cheesecake layer.
Mix the ingredients for the cheesecake layer and add it on top of the brownie layer.
Chill the silicone mold in your fridge for approx. 1 hour.
Pop the keto brownie cheesecake bars/bites out of your silicone mold.
This should be fairly easy after they had enough time to solidify in the fridge but you may have to be careful to not touch the cheesecake layer as it will not harden as much as the brownie layer.
Depending on what silicone mold you're using, you may need to cut the keto brownie cheesecake bars into bite-sized cubes as seen on the pictures.
If you use a different mold, you can go straight to the eating part!
(Optional) Serve with a bit of grated chocolate on top of your bites for decoration.
Cover with plastic wrap and store in your fridge - consume within 2-3 days.
*This post contains affiliate links. If you buy something through one of those links, I will receive a small commission at no extra cost to you.
Thank you for supporting my site!

Hello there!
I’m Uliana, the creator of hungryforinspiration.com.
The Low Carb/ Keto Lifestyle is my passion and I’m so happy that I can share my journey with you!
Click here, to learn more about me.
More like this:
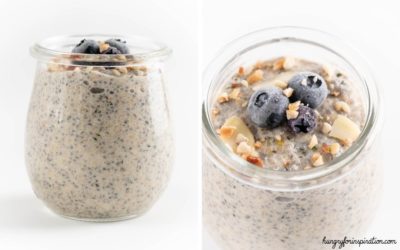
Keto Overnight Oats
*This post contains affiliate links. If you buy something through one of those links, I will receive a small commission at no extra cost to you. You can read more about this in my Privacy Policy.Thank you for supporting my site! These keto overnight oats with...
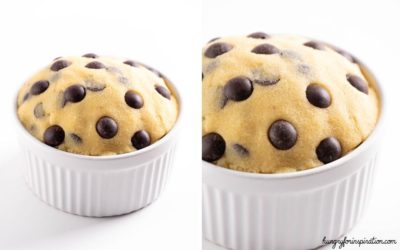
Keto Cookie Dough
*This post contains affiliate links. If you buy something through one of those links, I will receive a small commission at no extra cost to you. You can read more about this in my Privacy Policy.Thank you for supporting my site! This edible keto cookie dough...
Keto Porridge
*This post contains affiliate links. If you buy something through one of those links, I will receive a small commission at no extra cost to you. You can read more about this in my Privacy Policy.Thank you for supporting my site! You love porridge but you're on...

Keto Energy Balls
*This post contains affiliate links. If you buy something through one of those links, I will receive a small commission at no extra cost to you. You can read more about this in my Privacy Policy.Thank you for supporting my site! Want a quick energy boost on the...
Keto Granola Bars
*This post contains affiliate links. If you buy something through one of those links, I will receive a small commission at no extra cost to you. You can read more about this in my Privacy Policy.Thank you for supporting my site! Do you miss granola bars on the...
Keto Granola
*This post contains affiliate links. If you buy something through one of those links, I will receive a small commission at no extra cost to you. You can read more about this in my Privacy Policy.Thank you for supporting my site! If you miss eating delicious and...
How did you keep your cream cheese layer white? Mine turned brown because of the vanilla’s color.
Hey!
That’s so odd, I never encountered that problem before.
I didn’t do anything specific to keep my cream cheese white after adding the vanilla, in my case, it didn’t have a big impact on the color.
My only suggestion is to try a different vanilla extract – maybe your vanilla had some kind of weird chemical reaction with the other ingredients?
It’s certainly a far shot but worth a try.
Sorry I couldn’t be of further help!
Much love
Uliana 🙂
I am new to keto/low-carb, and I was excited to try this recipe when my ingredients arrived. I think it was a success. The brownie layer was perfect, just think I should have added more erithrytol to the cream cheese, because it wasn’t sweet enough for me and just had a strong “cream cheese” taste. Didn’t have vanilla extract so I excluded that. I will be making it again! Maybe I’ll just make the brownie layer and top with mascarpone when I want to eat dessert.
Thanks again for your comment! Just read your other nice comment! 🙂
I think mascarpone will also be great for this recipe! And the brownie layer also tastes really good by itself, it’s the same recipe as my brownie bites.
I’m glad you liked the recipe! 🙂
Much love, Uliana
Does it have to be Dutch cacao powder?
Hey! Not necessarily.
I usually recommend dutch processed cacao powder because you need less of it to achieve a strong chocolate flavor and thus you’re limiting the carbs you’re adding.
You can also use other cacao powders, just make sure that they don’t have added sugar and you might have to add a bit more of it for the same flavor.
I’d say just taste the mass once you added the cacao powder and decide if you would want to add more of it.
It could also make sense to recalculate the carbs of this recipe if your cacao powder has more than 20-25g of carbs/100g.
Much love, Uliana
These look so so good! Thanks. 🙂
Thank you Suzanne! 🙂